Getting Started
This guide walks you through installing and running Assimilate for the first time, from prerequisites to your first completed backup.
Using Pre-built Docker Images
The fastest way to get started. Pre-built images for the server and agent are published to the GitHub Container Registry on every release and nightly from main:
| Image | Tags |
|---|---|
ghcr.io/alexmohr/assimilate |
latest, semver (1.2.3, 1.2, 1), nightly, sha-<commit> |
ghcr.io/alexmohr/assimilate-agent |
latest, semver (1.2.3, 1.2, 1), nightly, sha-<commit> |
Tip
Use nightly for the latest development build from main, or pin to a release tag for stability.
Server: docker-compose.yml (pre-built images)
Deploy this on the machine hosting the Assimilate server:
services:
  postgres:
    image: postgres:latest
    environment:
      POSTGRES_DB: borg
      POSTGRES_USER: borg
      POSTGRES_PASSWORD: ${POSTGRES_PASSWORD:-borg_secret}
    volumes:
      - pgdata:/var/lib/postgresql
    ports:
      - "5432:5432"
    healthcheck:
      test: ["CMD-SHELL", "pg_isready -U borg -d borg"]
      interval: 5s
      timeout: 3s
      retries: 5

  server:
    image: ghcr.io/alexmohr/assimilate:latest
    ports:
      - "8080:8080"
    environment:
      DATABASE_URL: postgres://borg:${POSTGRES_PASSWORD:-borg_secret}@postgres:5432/borg
      ASSIMILATE_SECRET_KEY: ${ASSIMILATE_SECRET_KEY:?ASSIMILATE_SECRET_KEY must be set}
      ASSIMILATE_BIND_ADDR: "0.0.0.0:8080"
      ASSIMILATE_STATIC_DIR: /app/static
    volumes:
      - ssh_keys:/app/ssh
    depends_on:
      postgres:
        condition: service_healthy

volumes:
  pgdata:
  ssh_keys:
Agent: docker-compose.yml (pre-built images)
Deploy this on each machine you want to back up — not on the server:
services:
  agent:
    image: ghcr.io/alexmohr/assimilate-agent:latest
    environment:
      BORG_SERVER_URL: http://<server-address>:8080
      BORG_AGENT_TOKEN: ${BORG_AGENT_TOKEN:?BORG_AGENT_TOKEN must be set}
Running with pre-built images
On the server machine:
export ASSIMILATE_SECRET_KEY=$(openssl rand -hex 32)
docker compose up -d
Once the server is running, create an agent in the UI and copy its token.
On each backup machine:
export BORG_AGENT_TOKEN=<token from server UI>
docker compose up -d
Docker Compose Quickstart (build from source)
Environment variables
| Variable | Required | Default | Description |
|---|---|---|---|
ASSIMILATE_SECRET_KEY |
Yes | — | 32-byte hex key used to encrypt repository passphrases at rest (AES-256-GCM) |
POSTGRES_PASSWORD |
No | borg_secret |
Password for the PostgreSQL borg user |
BORG_AGENT_TOKEN |
Agent only | — | Token copied from the server UI after creating an agent |
Protect ASSIMILATE_SECRET_KEY
This key derives the AES-256-GCM encryption key that protects all repository passphrases stored in the database. If you lose or rotate this value, every encrypted passphrase becomes permanently unrecoverable. Store it in a secrets manager or a secure .env file that is never committed to version control.
Server: docker-compose.yml
The repository ships the server compose file at its root — use that rather than
a copy, so it cannot drift from the images and health checks the project
actually tests. Its server service builds from source
(build: { context: ., dockerfile: Dockerfile.server }) rather than pulling a
published image, so run it from inside a clone; the file on its own is not
enough:
git clone https://github.com/alexmohr/assimilate.git
cd assimilate
It brings up PostgreSQL and the server together, waits for the database to pass
its health check before starting the server, and keeps the generated SSH keys in
a named volume. The only values you need to supply are the two environment
variables in the table above — put them in a .env file beside the compose file
and see First run below. The server listens on 8080; to move it,
override ASSIMILATE_BIND_ADDR and the published port.
Agent: docker-compose.yml
Deploy this on each machine you want to back up — not on the server:
services:
  agent:
    build:
      context: .
      dockerfile: Dockerfile.agent
    environment:
      BORG_SERVER_URL: http://<server-address>:8080
      BORG_AGENT_TOKEN: ${BORG_AGENT_TOKEN:?BORG_AGENT_TOKEN must be set}
First run
Generate a secret key and start the server:
export ASSIMILATE_SECRET_KEY=$(openssl rand -hex 32)
docker compose up -d
The server creates a default admin account and generates an Ed25519 SSH key pair on first start. The SSH key pair is persisted in the ssh_keys volume and the public key is visible under System in the admin UI.
Once the server is running, create an agent in the UI and copy its token. Then on each backup machine:
export BORG_AGENT_TOKEN=<token from server UI>
docker compose up -d
Manual Build
Prerequisites
Install the following before proceeding:
- Rust nightly — install via rustup:
rustup toolchain install nightly - Node.js 20+ — required to build the frontend
- PostgreSQL — the server stores all state in a PostgreSQL database
- BorgBackup — must be installed on every machine running the agent
Tip
The Devcontainer Setup section provides a fully self-contained environment with all dependencies pre-installed — recommended for contributors and evaluation.
Build the server and agent binaries:
cargo build --workspace
Build the frontend and place the output where the server can serve it:
cd frontend && npm install && npm run build
The server looks for static files in the directory specified by ASSIMILATE_STATIC_DIR (default: ./static). Copy the built frontend there:
cp -r frontend/dist/* static/
Start the server:
export DATABASE_URL=postgres://borg:borg_secret@localhost:5432/borg
export ASSIMILATE_SECRET_KEY=$(openssl rand -hex 32)
cargo run -p server
Start the agent on each backup machine (after creating a host in the UI):
export BORG_SERVER_URL=http://<server-address>:8080
export BORG_AGENT_TOKEN=<token from server UI>
cargo run -p agent
The agent accepts http://, https://, ws://, or wss:// URLs — it normalises them automatically.
See Configuration for the full list of server environment variables.
First Login
Open http://localhost:8080 in your browser.
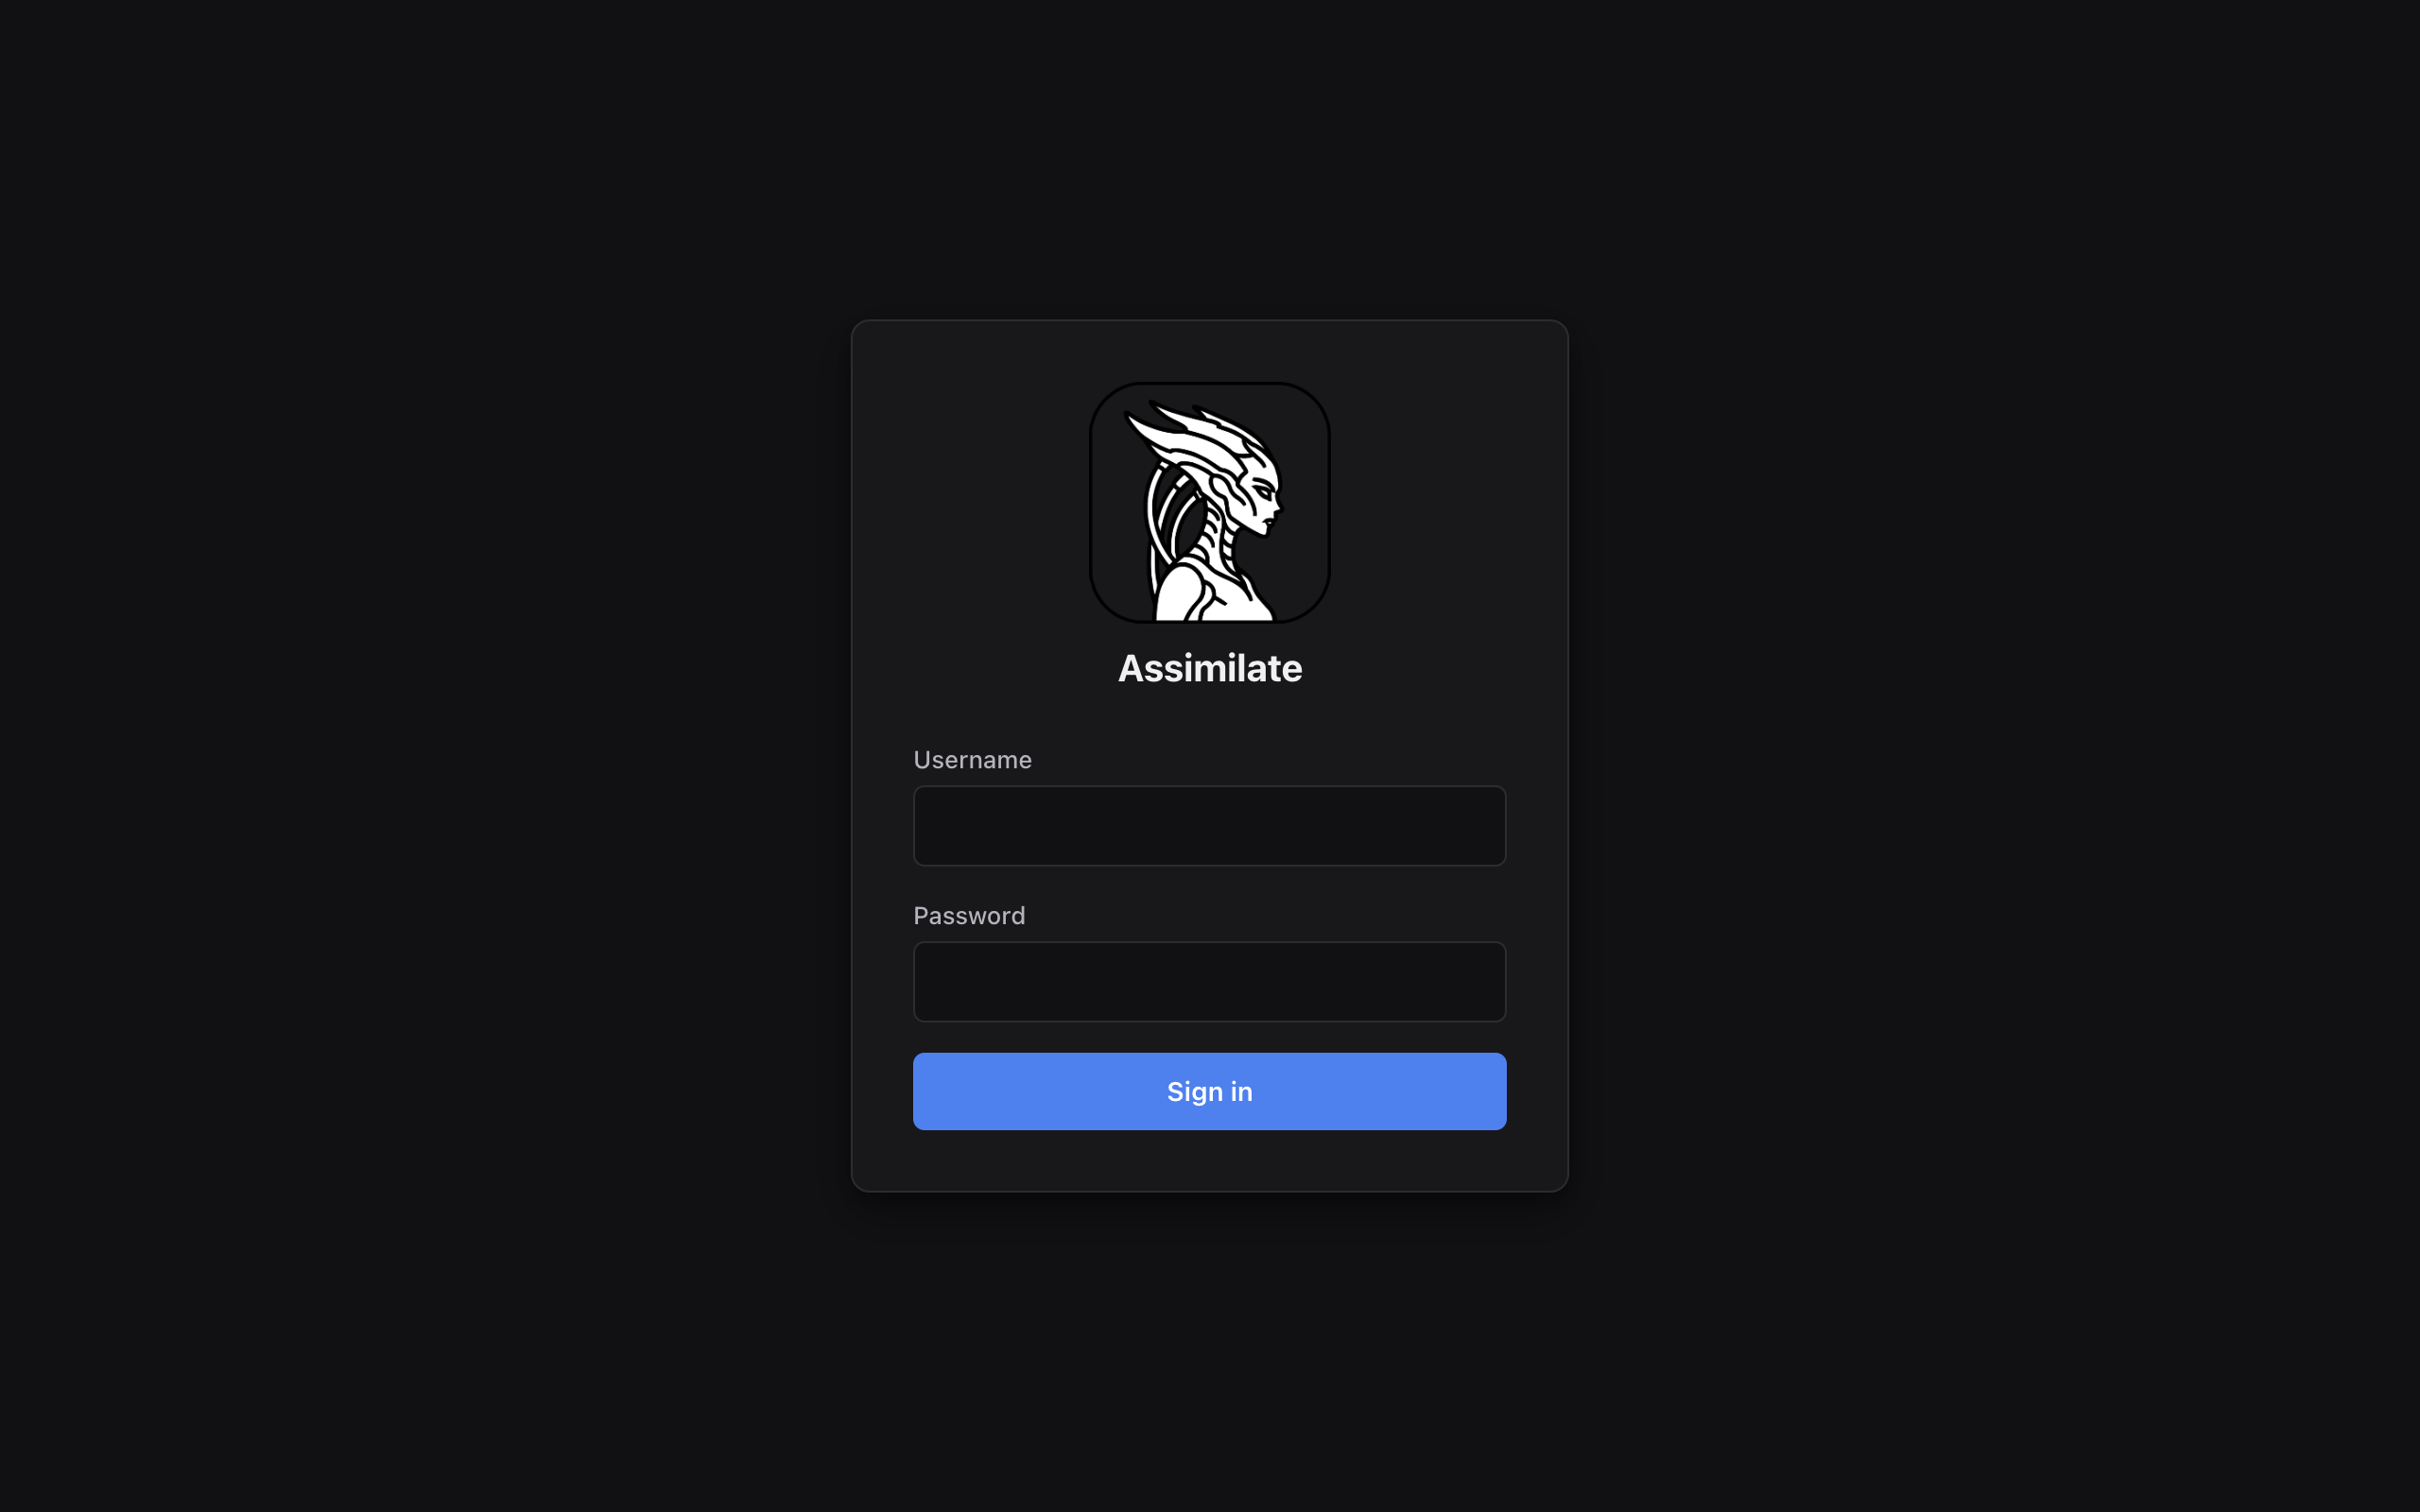
Change the default password immediately
The server creates a default admin account with credentials admin / admin. You are required to change the password on first login. Do not skip this step on any internet-facing deployment.
After changing the password, the dashboard loads and shows no agents yet.
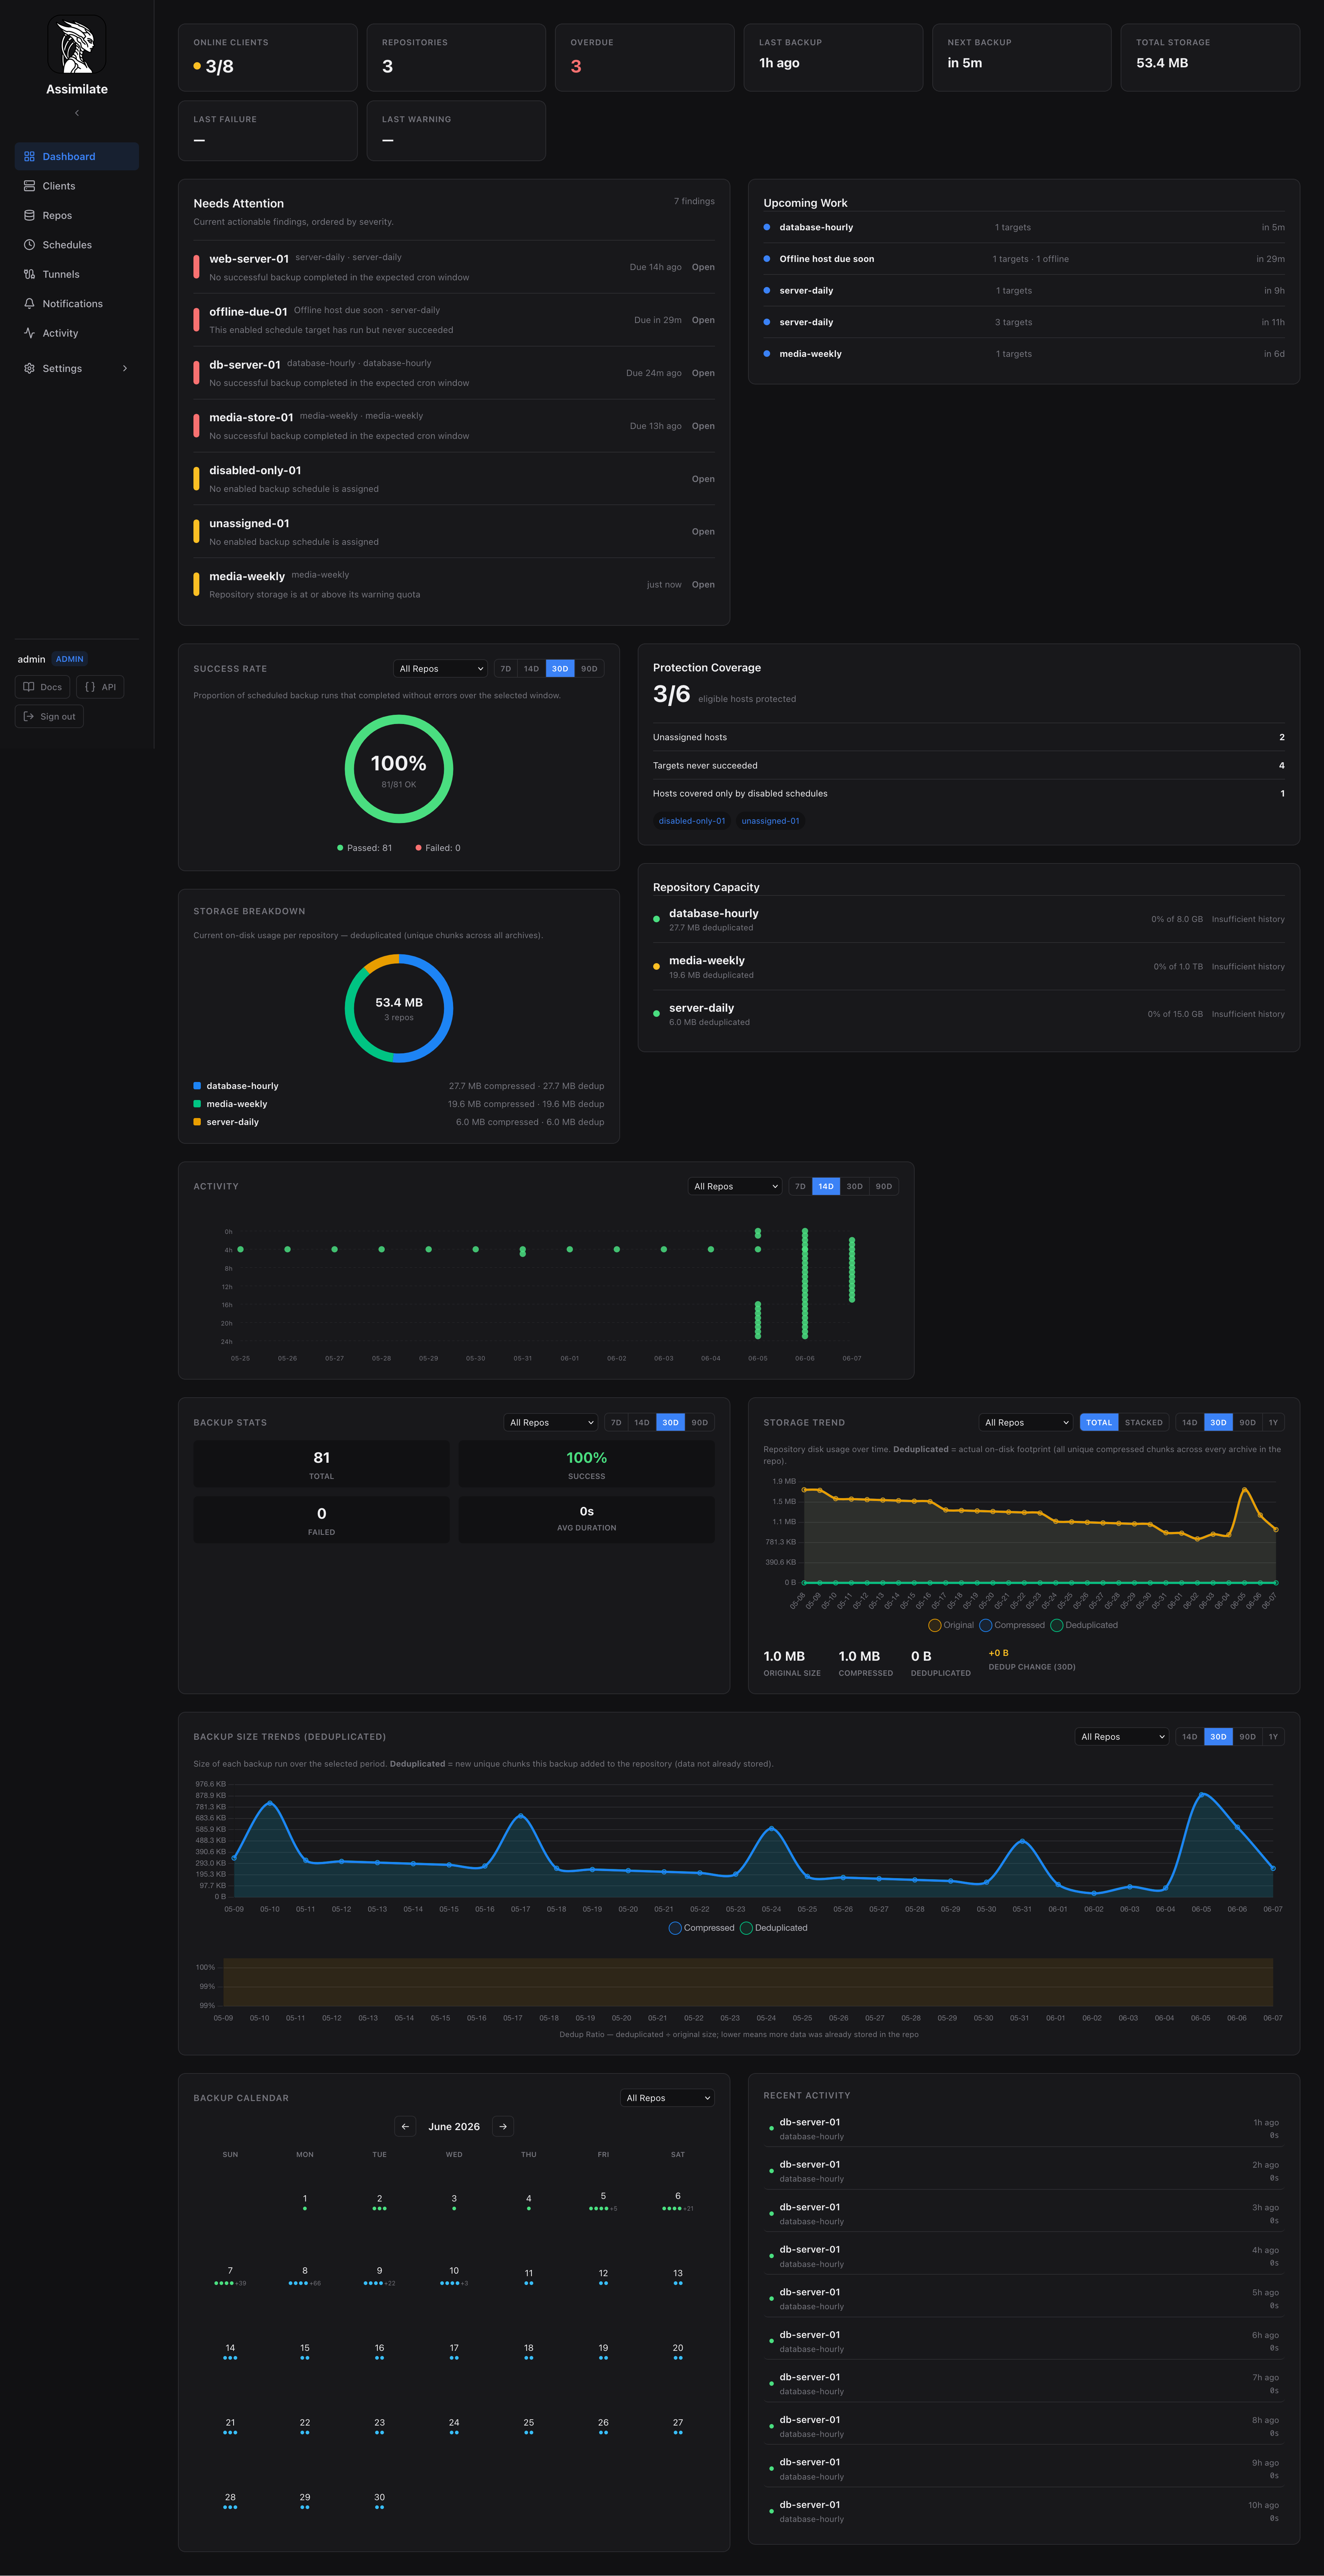
Adding Your First Agent
An agent represents a machine running the Assimilate agent binary.
- Navigate to Agents and click New agent.
- Enter a display name for the machine.
- Click Save — the server generates a unique agent token.
- Copy the token shown on the agent detail page.
- On the backup machine, start the agent with that token:
BORG_SERVER_URL=http://<server-address>:8080 \
BORG_AGENT_TOKEN=<copied-token> \
./assimilate-agent
The agent status changes to Online in the dashboard once the agent connects.
See Agent Management for systemd unit examples and advanced options.
Adding Your First Repository
A repository is a Borg backup repository, typically accessed over SSH.
SSH key setup
The server holds an Ed25519 key pair used to authenticate to borg repository hosts. Retrieve the public key from System in the admin UI, then add it to ~/.ssh/authorized_keys on the repository host:
# On the repository host:
echo "<public key from System page>" >> ~/.ssh/authorized_keys
Tip
Use SSH Agent Forwarding so agent machines authenticate using the server's key — no SSH keys need to be distributed to agent machines.
Create the repository
- Navigate to Repos and click New repository.
-
Fill in the connection details:
Field Example SSH Host backup.example.comSSH User borgSSH Port 22Repo Path /backup/repos/myhostPassphrase a strong random passphrase -
Click Test Connection to verify SSH access.
- Click Initialize to run
borg initand create the repository.
See Repository Management for pruning policies and passphrase rotation.
Your First Backup
- Navigate to Scheduling and click Add Schedule.
- Select the agent and repository created above.
- Set the paths to back up (e.g.,
/home,/etc). - Choose a cron expression or interval (e.g.,
0 2 * * *for 2 AM daily). - Click Save.
- Click Run now to trigger an immediate backup.
The dashboard shows the backup progress in real time. Once complete, the archive appears under Archives for the repository.
See Scheduling & Retention for retention policies and pre/post hooks.
Devcontainer Setup
The project includes a devcontainer for contributors. It provides a fully self-contained environment — no local PostgreSQL, SSH keys, or borg installation required.
Services
| Service | Purpose |
|---|---|
dev |
Rust nightly + Node.js + borg — your workspace |
postgres |
PostgreSQL database |
borg-repo |
SSH server + borg acting as the repository target |
Start the environment
Open the project in VS Code and select Reopen in Container (or run Dev Containers: Reopen in Container from the command palette).
On first start, an SSH key pair is generated and shared with the borg-repo container automatically.
Start the server and Vite dev server with a single command:
.devcontainer/start.sh
After creating an agent in the UI and copying its token, start the agent binary:
source /tmp/ssh-agent-env.sh
BORG_SERVER_URL=http://localhost:8080 BORG_AGENT_TOKEN=<token> cargo run -p agent
When creating a repository in the devcontainer, use these settings:
| Field | Value |
|---|---|
| SSH Host | localhost or borg-repo |
| SSH User | borg |
| SSH Port | 22 |
| Repo Path | /backup/repos/<name> |
| Passphrase | any value (e.g. devpass) |
Tip
Without a devcontainer, start PostgreSQL manually and set DATABASE_URL and ASSIMILATE_SECRET_KEY before running cargo run -p server. Run cd frontend && npm run dev in a separate terminal for hot-reload.